2. Chalkboard Menu Board with a Wooden Frame
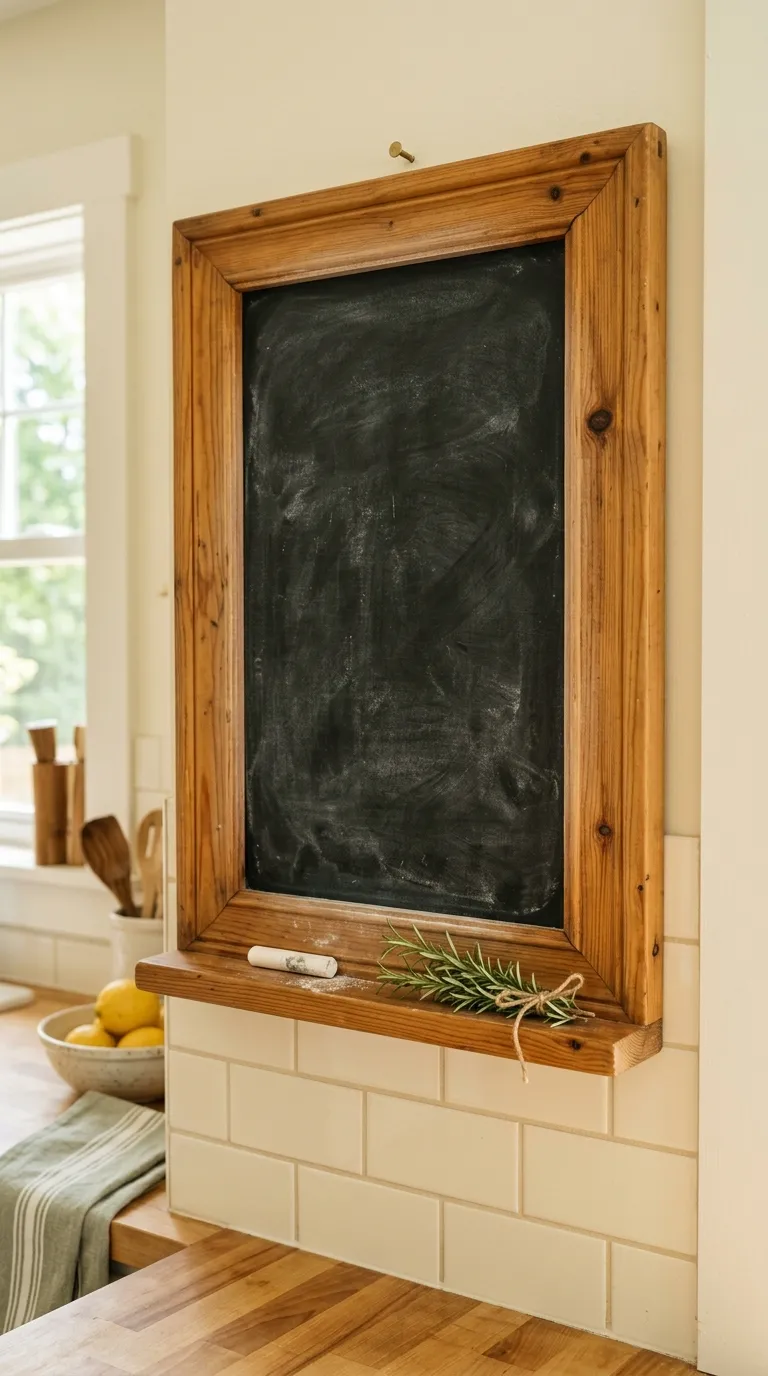
A menu board takes the nightly “what’s for dinner” question off your shoulders. It also gives you a reason to plan meals ahead, which tends to trim the grocery bill. This is one of the more forgiving projects on the list because chalkboard paint hides small imperfections in the wood.
Materials: a 1×2 or 1×3 pine board for the frame, a thin plywood or hardboard panel for the center, chalkboard paint, a foam roller, wood glue, finishing nails, and picture-hanging wire.
How to build it: Cut the frame pieces with 45-degree mitered corners and glue them together, reinforcing with finishing nails. Paint the center panel with two or three thin coats of chalkboard paint, letting each coat dry fully. Once the paint is cured, “season” the board by rubbing a piece of chalk sideways across the whole surface and wiping it off — this prevents ghost writing later. Attach the panel to the back of the frame, then add hanging wire.
Customization: Paint the frame in a color pulled from your backsplash or dish towels. Some people divide the board into days of the week with painter’s tape before painting, then peel it away for crisp lines.
Budget alternative: A framed chalkboard from a thrift store, sanded and refinished in your own stain, costs a fraction of new materials.
Common mistake: Using regular acrylic paint instead of chalkboard paint, then wondering why nothing erases. Also, don’t skip the seasoning step.