3. Wooden Block Snowman
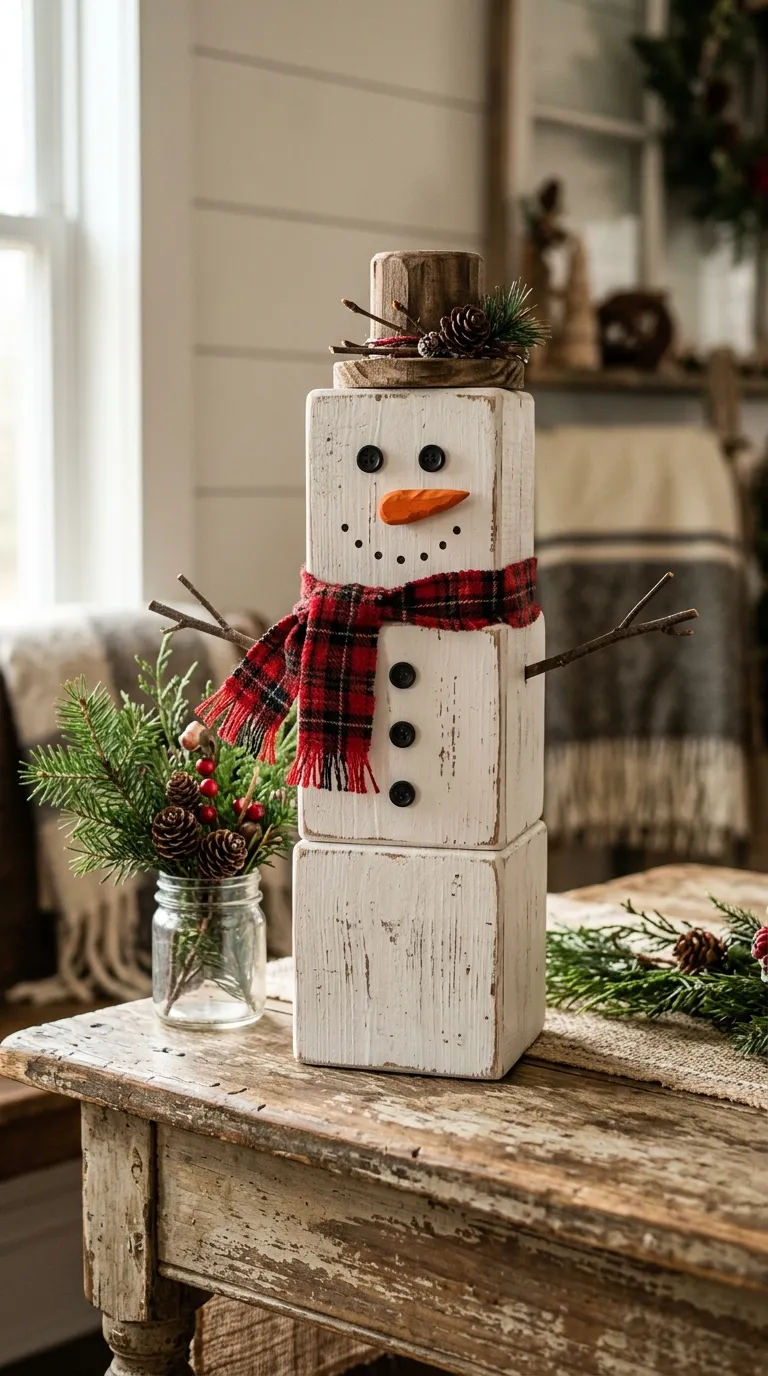
If you have a scrap of 2×4 or a few wooden cubes, you have the makings of a rustic snowman that stands up to years of use. This project has a farmhouse feel and works beautifully as a centerpiece or shelf sitter.
Materials: three wooden blocks (or one long block cut into three graduated sizes), white craft paint, black paint, orange paint, fine sandpaper, wood glue, and embellishments like a small fabric scarf, a twig hat, or buttons.
Instructions: Sand any rough edges. Paint all blocks white and let them dry. Paint two black dots for eyes on the top block, a small orange triangle for the nose, and a black dotted smile. You can also paint buttons down the middle block. Glue the blocks together in a stack. Once dry, add a fabric scarf around the neck and a twig hat or a small knit hat on top.
Time: 45–60 minutes plus drying. Difficulty: Beginner to intermediate. Customization: Use stencils for the face, add a wooden sign that says “Let it Snow,” or distress the edges with sandpaper for a vintage look. Display: Place on a console table, kitchen windowsill, or as part of a winter village vignette. Budget alternative: Ask a hardware store for scrap cuts, or use jenga-style blocks. Common mistake: Not sanding between paint coats—it makes the finish rough and uneven.