
Decorating your home with unique, personalized touches can transform any space from ordinary to extraordinary. One of the most impactful ways to add character and style is through wall art. While traditional paintings and prints are beautiful, DIY textured wall art brings depth, personality, and a touch of creativity to your interiors. The beauty of textured wall art lies in its versatility. It can be bold or subtle, modern or rustic, minimalistic or eclectic.
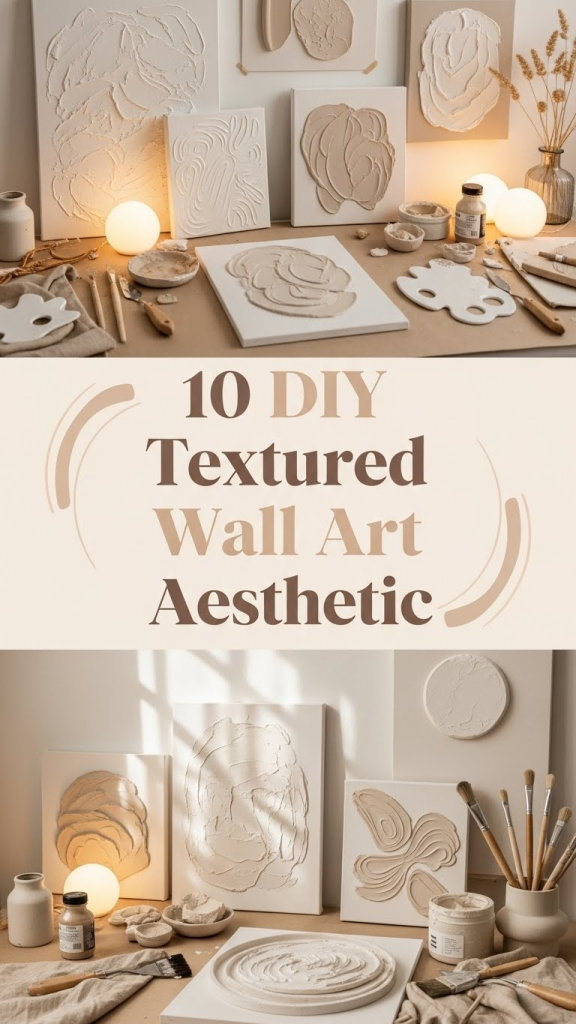
In this blog post, we will explore ten DIY textured wall art ideas that not only elevate your home’s aesthetic but also give you the satisfaction of creating something with your own hands. Whether you are a beginner or a seasoned DIY enthusiast, these projects are designed to inspire and guide you step by step.
1. Rope and Twine Wall Hangings
Rope and twine are simple materials that can be transformed into stunning textured wall art. This project is perfect for a bohemian or rustic-inspired space. By layering ropes of different thicknesses, twisting, and knotting them, you can create intricate patterns and shapes.
Materials Needed:
- Thick rope or twine
- Wooden dowels or a sturdy branch
- Scissors
- Hot glue or fabric glue
Instructions:
- Cut several lengths of rope or twine in varying sizes.
- Attach the ropes to a wooden dowel using knots or glue.
- Experiment with braiding, looping, and layering to create texture.
- Hang the finished piece on the wall using hooks or nails.
This type of art adds a tactile element to your room and pairs well with neutral-colored furniture and soft textiles. Rope wall hangings can range from minimalist linear designs to elaborate geometric patterns, making them highly versatile.
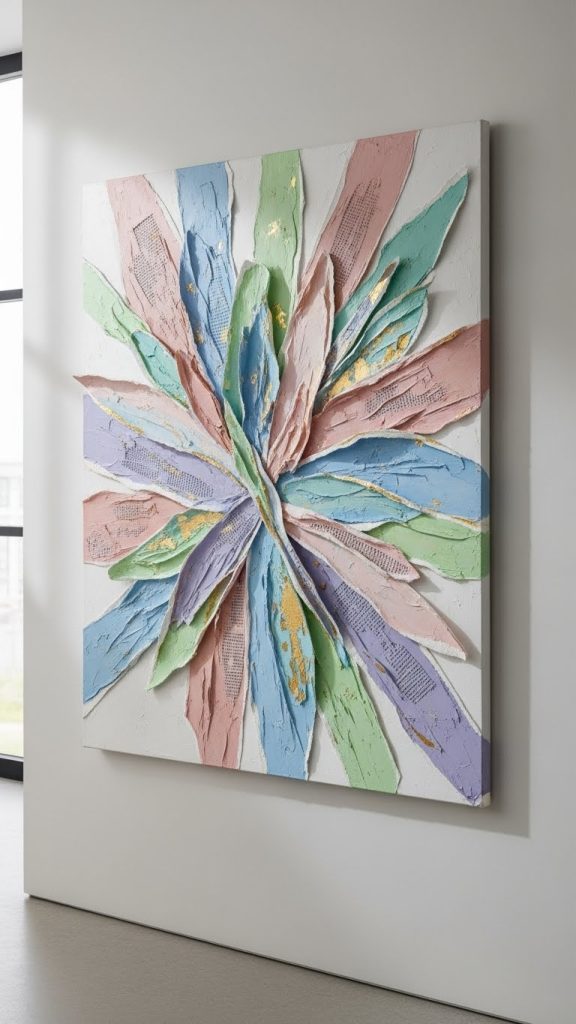
2. Layered Canvas Art
Layered canvas art is a great way to experiment with texture while using materials you may already have at home. By layering paint, fabric, and paper, you can create a multidimensional piece that draws the eye.
Materials Needed:
- Canvas
- Acrylic paints
- Mod Podge or glue
- Textured paper or fabric scraps
- Paintbrushes and palette knives
Instructions:
- Apply a base coat of paint to the canvas.
- Tear pieces of textured paper or fabric and glue them onto the canvas.
- Use a palette knife to add additional layers of paint over the paper for depth.
- Allow the piece to dry completely before hanging.
Layered canvas art is particularly effective when combining colors and textures that complement your room’s color palette. Experiment with metallic paints or different brush techniques to create subtle variations in texture.
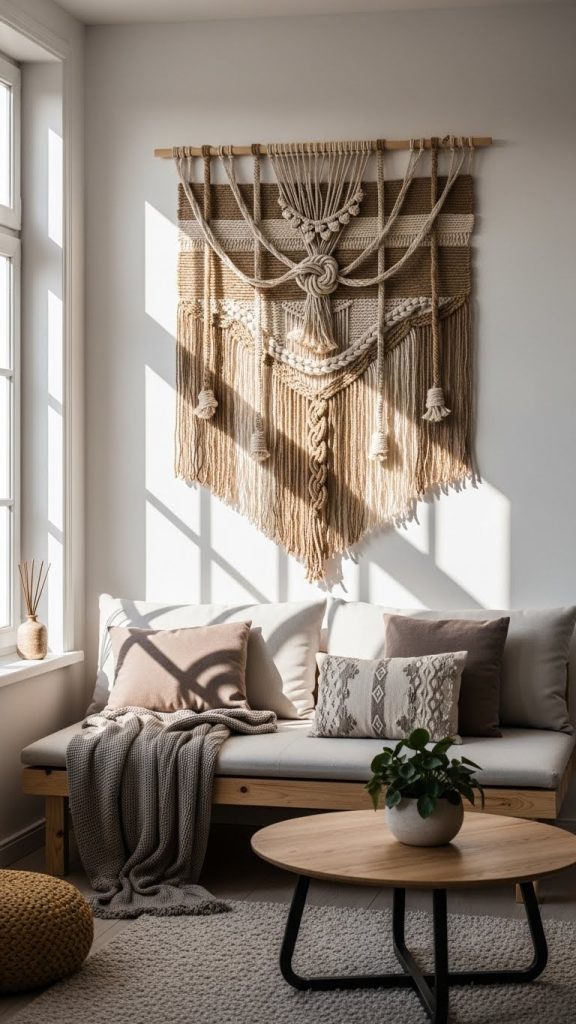
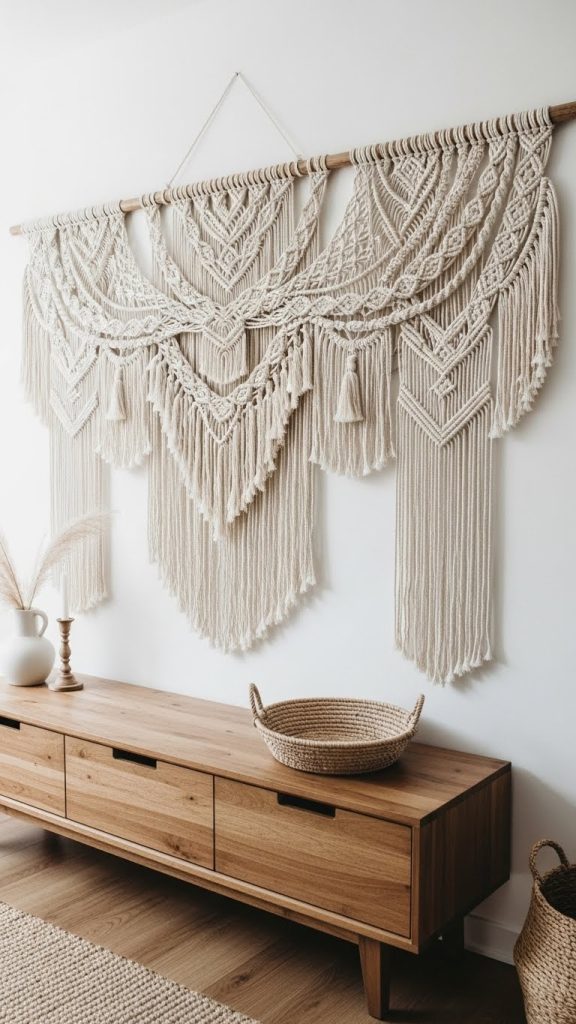
3. Macramé Wall Art
Macramé has made a major comeback in interior design, and for good reason. Its intricate knots and patterns create a beautiful textured effect that can transform any wall.
Materials Needed:
- Cotton cord or macramé rope
- Wooden dowel
- Scissors
Instructions:
- Cut several strands of cord in your desired length.
- Learn basic macramé knots such as the square knot, half knot, and lark’s head knot.
- Arrange the knots in patterns that suit your aesthetic.
- Hang the finished piece using a dowel on the wall.
Macramé can be customized in countless ways. You can create long flowing pieces for a dramatic effect or small, delicate wall hangings for a subtle touch of texture. Adding beads or shells can enhance the bohemian vibe.

4. 3D Paper Wall Art
Creating 3D paper art is a budget-friendly way to add texture and dimension to your walls. This technique works beautifully in modern, minimal, or whimsical spaces.
Materials Needed:
- Cardstock or heavy paper
- Scissors
- Glue
- Frame (optional)
Instructions:
- Cut shapes such as flowers, leaves, or geometric forms from the cardstock.
- Fold, curl, or layer the paper pieces to create a three-dimensional effect.
- Attach the pieces to the wall directly or on a framed canvas.
3D paper wall art is highly versatile. You can create a monochrome arrangement for a sophisticated look or mix colors for a playful, artistic effect. The dimension adds visual interest without overwhelming the room.
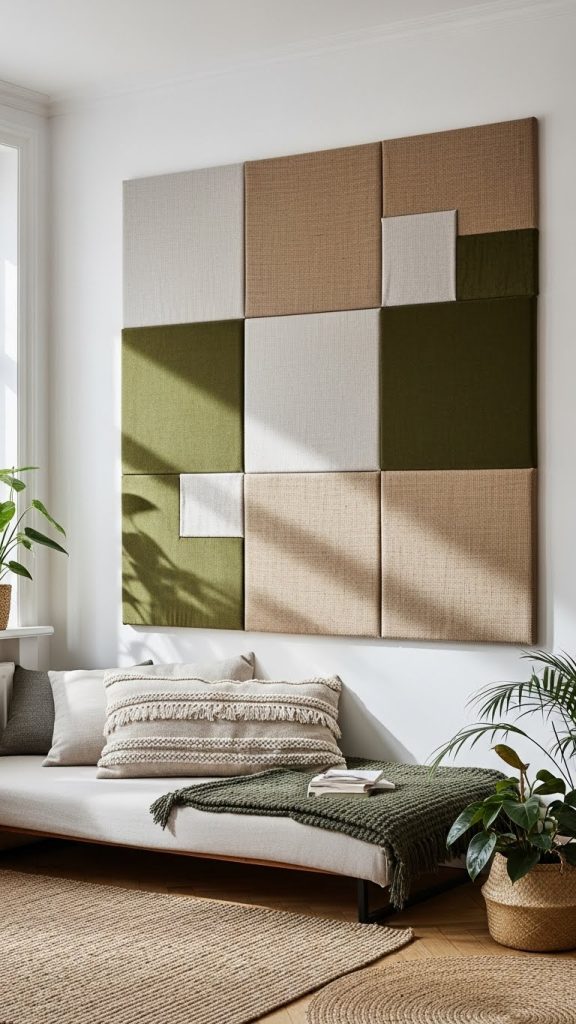
5. Fabric Wall Panels
Fabric wall panels offer a soft, textured alternative to traditional wall art. By choosing fabrics with interesting weaves or patterns, you can create a statement piece that enhances your space’s warmth and depth.
Materials Needed:
- Wooden frames or canvas panels
- Fabric of your choice
- Staple gun or fabric glue
- Scissors
Instructions:
- Stretch the fabric over the frame or panel.
- Secure the fabric using a staple gun or glue on the back.
- Arrange multiple panels on the wall to create a gallery effect.
Consider mixing fabrics like linen, burlap, or velvet for added texture. Fabric panels can also serve as acoustic dampeners, making them both functional and decorative.
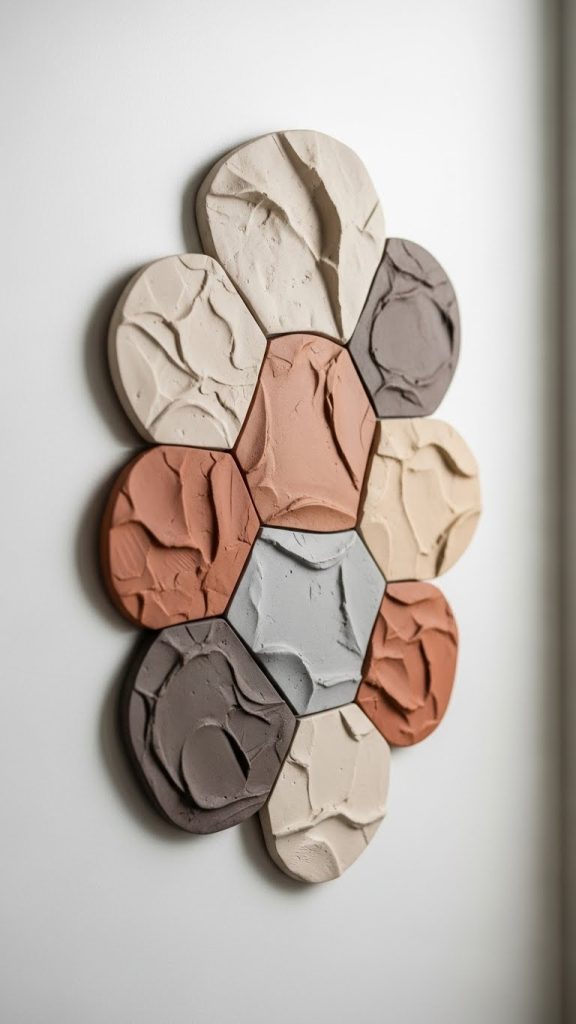
6. Clay Wall Art
Clay wall art allows you to sculpt organic shapes, abstract designs, or even intricate patterns that create rich textures. This technique works well for contemporary and modern interiors.
Materials Needed:
- Air-dry clay
- Rolling pin
- Sculpting tools or household items (toothpicks, forks)
- Paint (optional)
- Glue or mounting tape
Instructions:
- Roll out the clay and shape it into your desired forms.
- Use tools to create texture and patterns on the clay surface.
- Let the clay pieces dry completely.
- Paint or leave them natural, then mount them on the wall.
Clay wall art is extremely customizable. You can create a series of small tiles for a geometric arrangement or one large sculptural piece for a bold statement. The tactile nature of clay adds a unique depth that flat art cannot achieve.
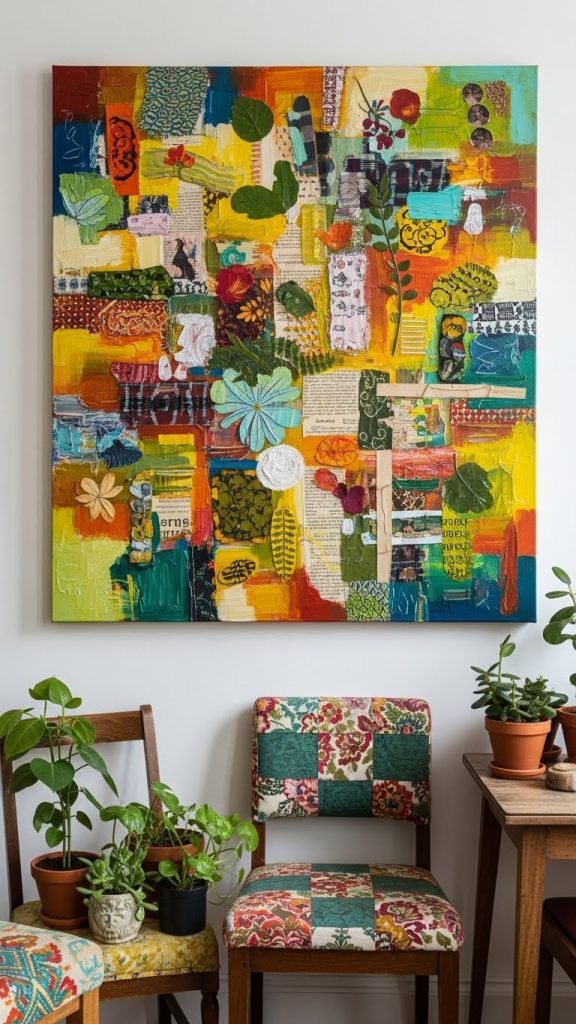
7. Mixed Media Collages
Mixed media collages combine various materials such as paint, paper, fabric, and found objects to create textured wall art with personality. This style is perfect for those who enjoy experimentation and bold aesthetics.
Materials Needed:
- Canvas or sturdy board
- Paint, markers, or inks
- Paper, fabric, and other found objects
- Glue or Mod Podge
- Scissors and brushes
Instructions:
- Apply a base layer of paint or ink on your canvas.
- Layer different materials, experimenting with placement and texture.
- Glue everything in place and allow it to dry.
- Add final touches with paint, markers, or other embellishments.
The charm of mixed media collages is in their unpredictability. Every piece becomes unique, reflecting your creativity and personal style. Consider adding small natural elements like leaves or sand for an organic touch.
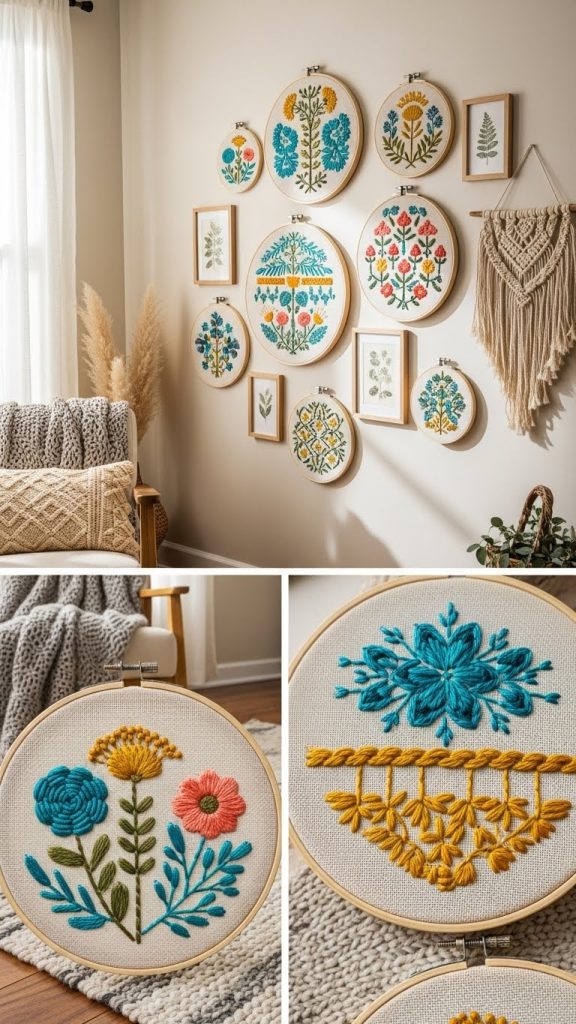
8. Embroidery Hoop Art
Embroidery hoop art is a creative way to display stitched patterns and designs as wall decor. Using different threads and textures, you can create an eye-catching piece that is both delicate and dimensional.
Materials Needed:
- Embroidery hoops
- Fabric
- Embroidery floss or thread
- Needle
- Scissors
Instructions:
- Stretch fabric tightly over an embroidery hoop.
- Stitch your design using various embroidery techniques, focusing on texture and layering.
- Trim excess fabric and secure the edges.
- Hang the hoops on the wall, either individually or in a group arrangement.
Embroidery hoop art can range from simple monograms to intricate floral designs. Combining multiple hoops with different patterns and sizes adds depth and a gallery-like feel to your wall.
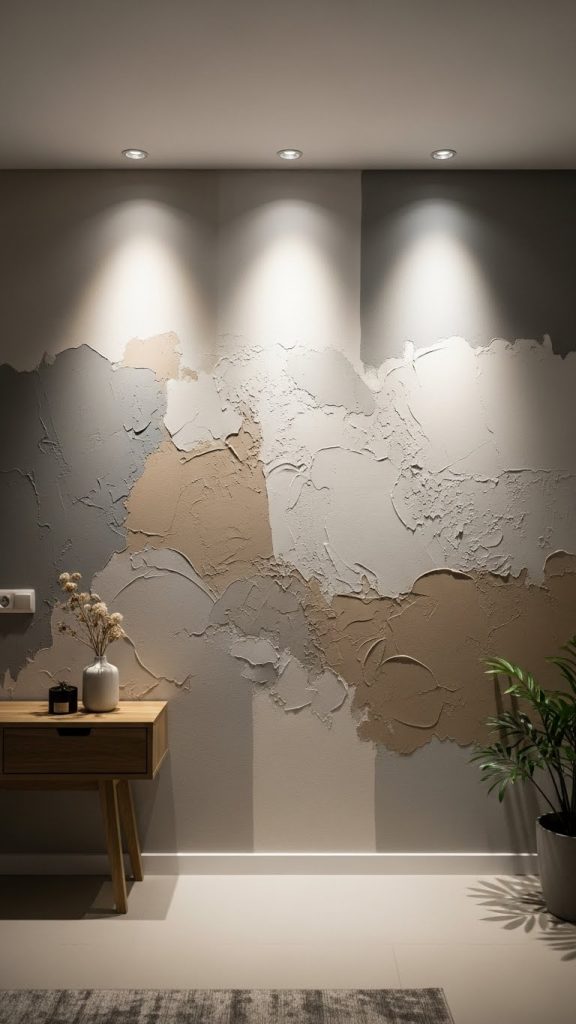
9. Painted Texture Walls
Sometimes, the wall itself can become the art. Using textured paint techniques, you can create a stunning backdrop or focal wall without any additional materials.
Materials Needed:
- Textured paint or joint compound
- Paint roller or brush
- Sponges, combs, or other tools for pattern
- Base coat of paint
Instructions:
- Apply a base coat of paint on your wall.
- Apply textured paint or joint compound using a roller or brush.
- Use sponges, combs, or other tools to create patterns and texture.
- Allow the wall to dry completely before decorating the room.
Textured walls add depth and dimension while complementing your existing decor. You can create subtle patterns for a minimalist approach or bold, raised textures for a dramatic impact.
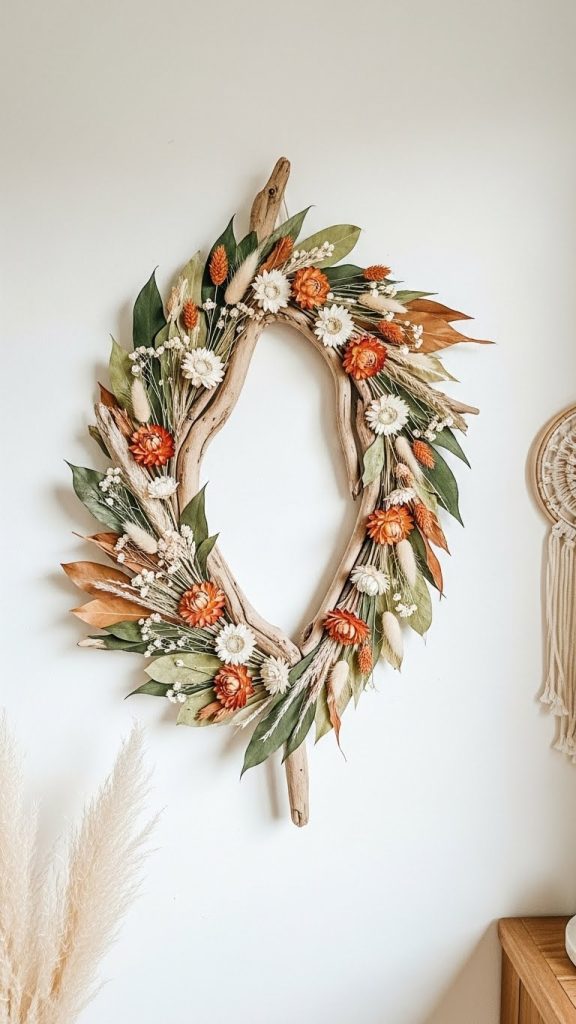
10. Nature-Inspired Wall Art
Incorporating natural elements into wall art adds organic texture and a calming aesthetic. Materials like driftwood, dried flowers, and pressed leaves create unique and eco-friendly wall art.
Materials Needed:
- Driftwood, branches, or wooden plaques
- Dried flowers or pressed leaves
- Glue or wire
- Frame or hanging hooks
Instructions:
- Arrange natural elements into your desired composition.
- Secure with glue or wire to keep everything in place.
- Mount the piece directly on the wall or in a frame for protection.
Nature-inspired wall art connects your home to the outdoors, providing a serene and tactile visual experience. Experiment with different sizes and arrangements for a layered, gallery-style display.
Final Thoughts
DIY textured wall art is more than just decoration; it is a form of self-expression and creativity. By experimenting with different materials, patterns, and techniques, you can create pieces that reflect your personality and elevate your home’s aesthetic. From rope hangings and macramé to clay sculptures and fabric panels, the possibilities are endless.
The best part about these projects is that they are accessible to everyone. You do not need to be a professional artist to achieve a stunning, textured look. With some patience, creativity, and basic materials, you can transform any wall into a work of art.
Start small, experiment with textures, and gradually build a collection of wall art that makes your home feel truly yours. Whether you prefer minimalist designs or bold, eclectic statements, DIY textured wall art offers endless opportunities to personalize your space and impress your guests.