10. Personalized Name Magnets
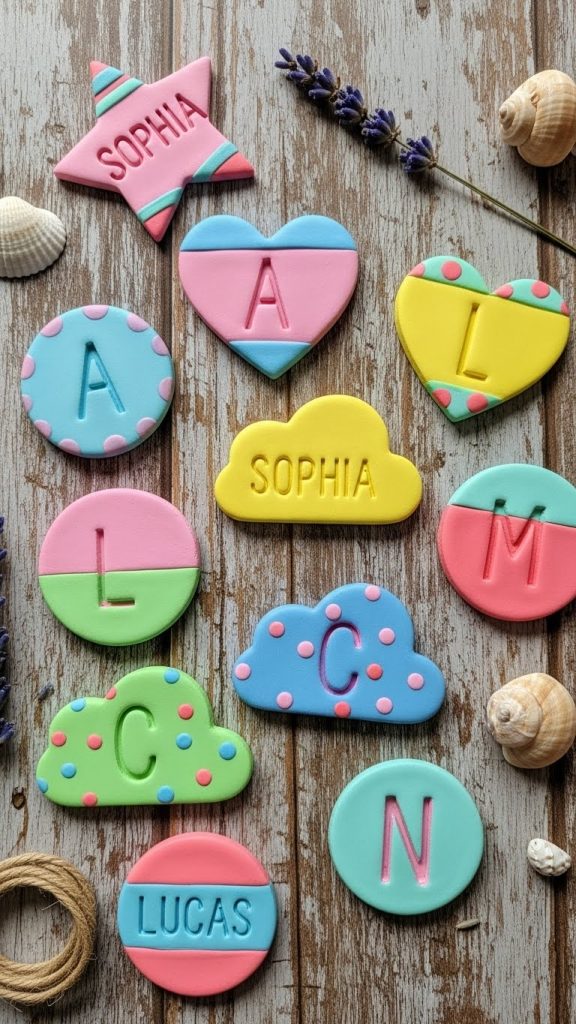
Personalized magnets are fun and meaningful. You can create magnets with your name, initials, or even nicknames for friends and family.
Steps for Personalized Name Magnets:
- Roll out clay into your desired shape.
- Use clay or paint to create letters.
- Bake or air-dry the clay.
- Seal with a glaze if desired.
- Attach magnets to the back.
These magnets are perfect for gifts or as a fun way to label your fridge or workspace.
Tips for Making Perfect Clay Magnets
- Condition the Clay Well: Properly kneading your clay makes it soft and easier to shape.
- Use Small Magnets: Small disc magnets are powerful enough to hold notes but won’t overwhelm your design.
- Add Texture: Toothpicks, forks, and brushes can add fun textures.
- Seal Your Work: Use a clear glaze for a polished, shiny finish.
- Be Patient: Allow air-dry clay to fully harden before attaching magnets.
- Experiment with Colors: Mix and match clay colors to create unique effects.
- Use Reference Images: Especially for food or animals, reference images can help you get the details right.
Conclusion
DIY clay magnets are a delightful way to express your creativity while adding charm to your home or office. From miniature foods to abstract designs, the possibilities are endless. Not only are they fun to make, but they also make thoughtful gifts for friends and family.
By following these ten DIY clay magnet ideas, you can create a collection of unique and adorable magnets that reflect your personal style. Whether you are crafting for yourself or making gifts for others, these cute clay magnets are sure to bring joy and color into everyday life.
Start small, experiment with shapes and colors, and most importantly, have fun with the process. Happy crafting!