
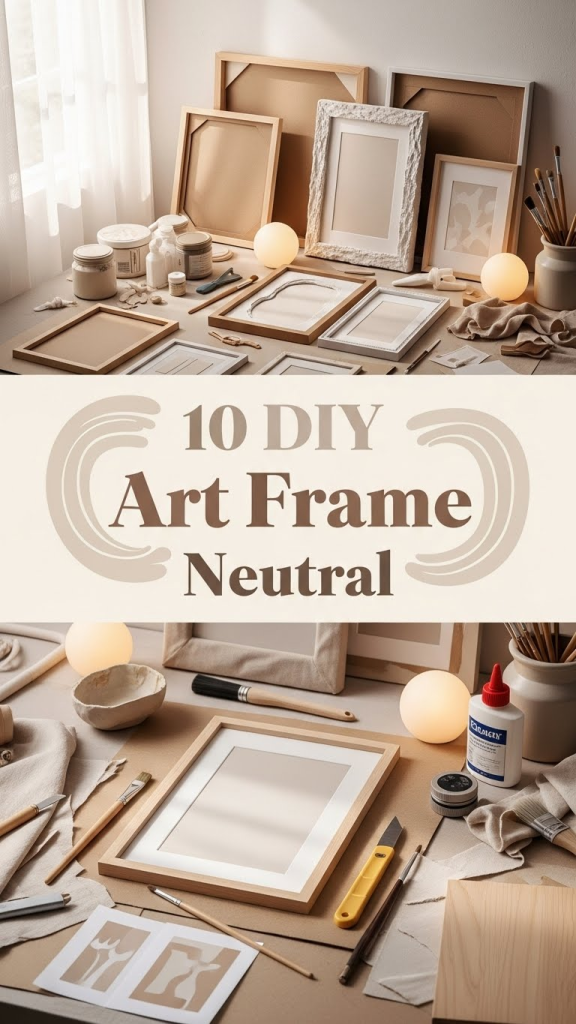
When it comes to home décor, art frames are a subtle yet impactful way to transform any space. While bold and colorful frames have their charm, neutral-toned art frames provide a timeless and versatile aesthetic that blends seamlessly into any interior style. Whether you have a minimalist, Scandinavian, modern, or boho-inspired home, neutral art frames offer a calming and sophisticated touch.
If you are looking for creative ways to display your art while keeping a cohesive, neutral color palette, DIY art frames are a perfect solution. Not only do they allow you to personalize your space, but they also offer an affordable way to elevate your walls. In this post, we will explore ten DIY art frame ideas that are perfect for a neutral home.
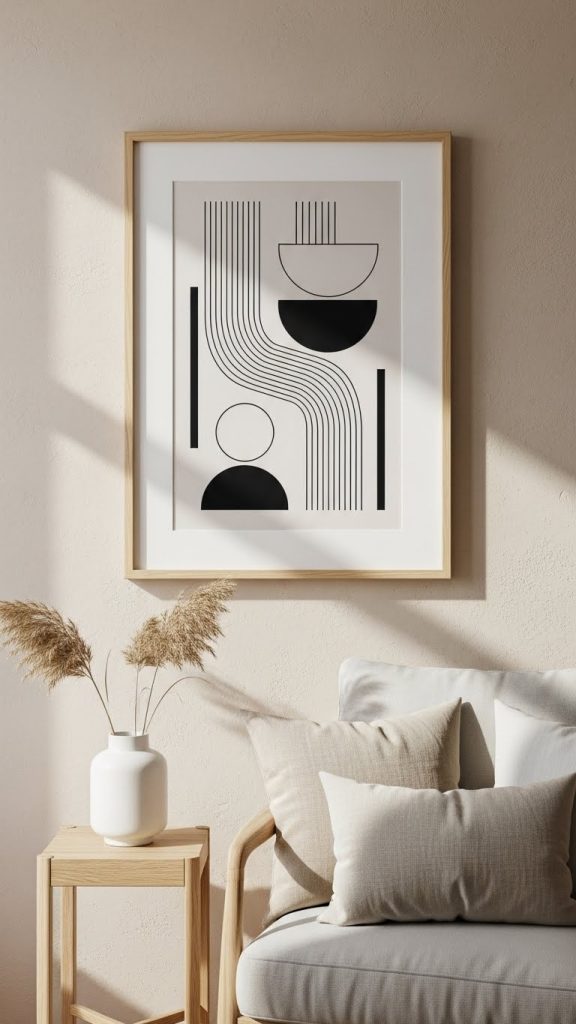
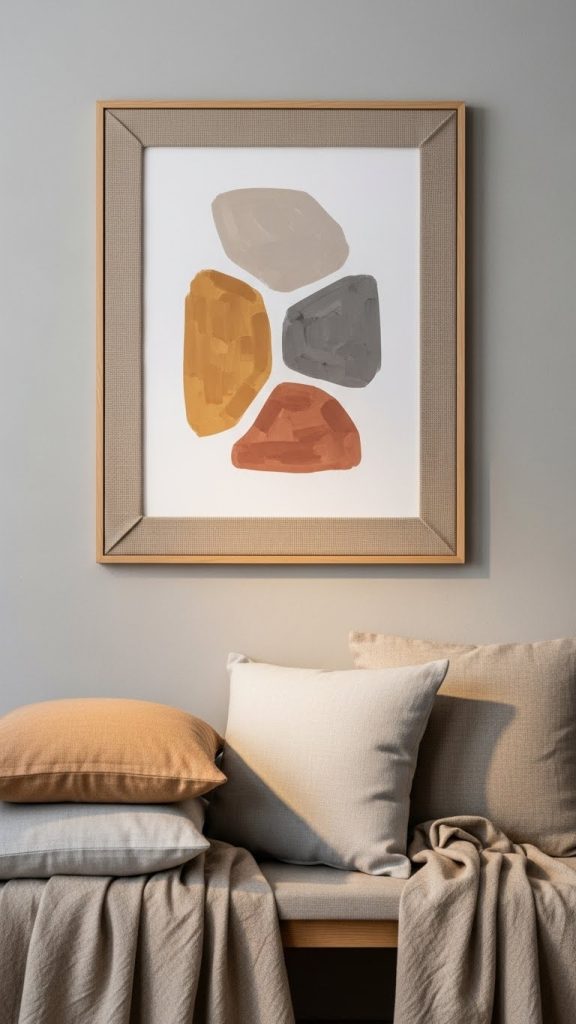
1. Classic Wooden Frame
A classic wooden frame is a staple in any home. It exudes warmth and elegance while complementing neutral interiors effortlessly.
Materials Needed:
- Wooden frame (pre-made or reclaimed wood)
- Sandpaper
- Wood stain or paint in neutral shades like white, beige, or grey
- Brush or cloth for applying stain
- Artwork or photo to display
Instructions:
- Sand the wooden frame to smooth out any rough edges.
- Apply a neutral stain or paint, depending on your preference. For a natural look, use a light wood stain that enhances the grain.
- Let the frame dry completely.
- Insert your artwork and hang it on the wall.
This simple project is perfect for beginners and gives a natural, earthy vibe to your space. Wooden frames also pair beautifully with both modern and traditional décor styles.
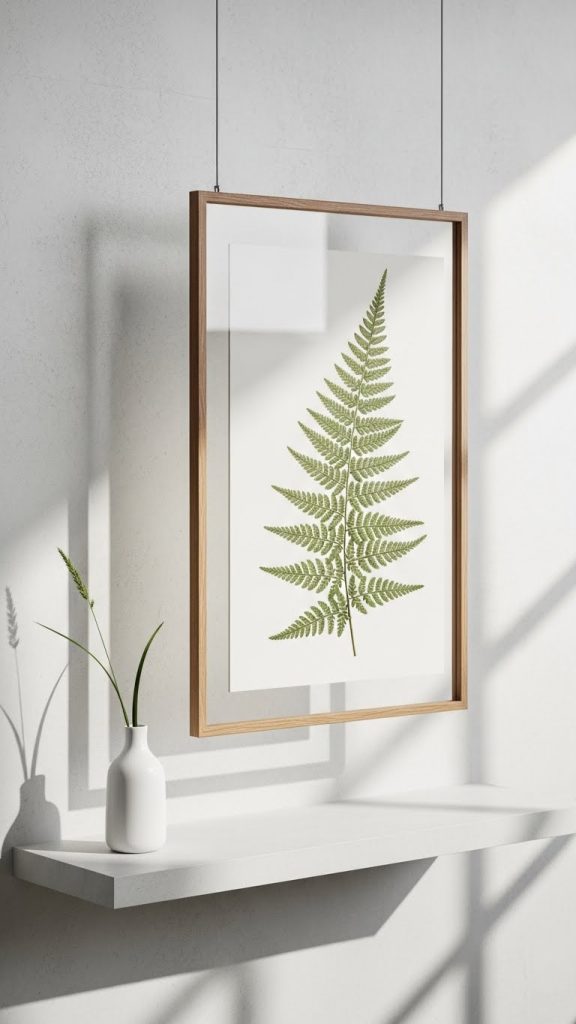
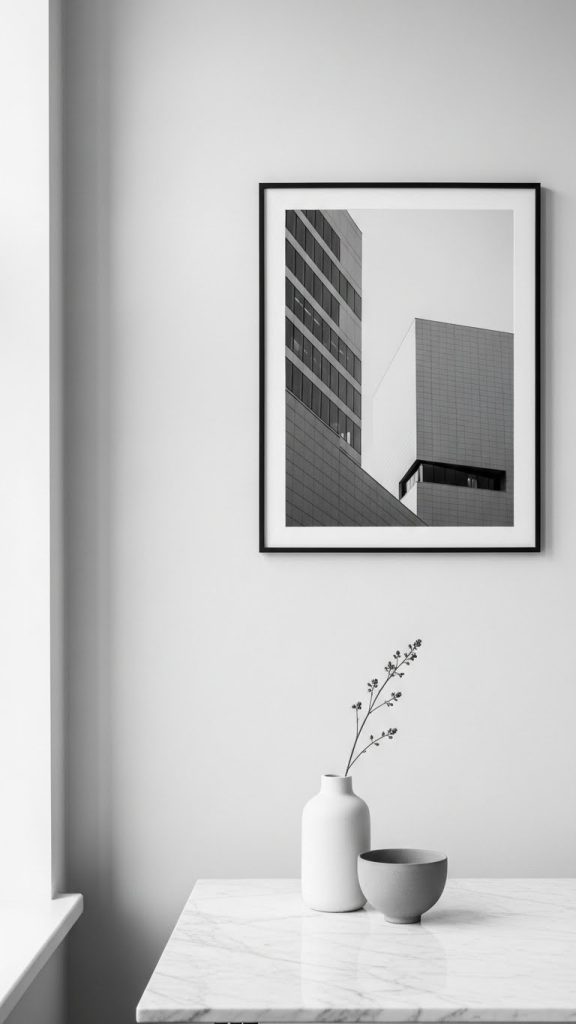
2. Floating Frame
Floating frames create a modern, elegant effect by giving the illusion that your artwork is suspended within the frame. They are especially effective for prints, photographs, and delicate paper art.
Materials Needed:
- Glass panes
- Wooden or metal frame
- Clips or mounts for holding the artwork
- Artwork
Instructions:
- Position the glass panes within the frame so that there is space between them.
- Place your artwork carefully between the panes.
- Secure the artwork with clips or mounts.
- Hang the frame on the wall, making sure it is level.
Floating frames are versatile and add depth to your wall without overpowering a neutral color palette. They work beautifully for black and white photography or simple line drawings.
3. Rustic Driftwood Frame
Driftwood frames bring an organic, coastal charm to a neutral home. They are ideal for a relaxed, bohemian aesthetic.
Materials Needed:
- Pieces of driftwood
- Strong adhesive or nails
- Backing board
- Artwork
Instructions:
- Arrange the driftwood pieces to form a frame shape.
- Use adhesive or small nails to secure the wood together.
- Attach a backing board to support your artwork.
- Place your art inside and display it on a wall or shelf.
The natural texture and irregular shape of driftwood make each frame unique. Neutral tones in the wood will harmonize with soft whites, creams, and greys in your home décor.

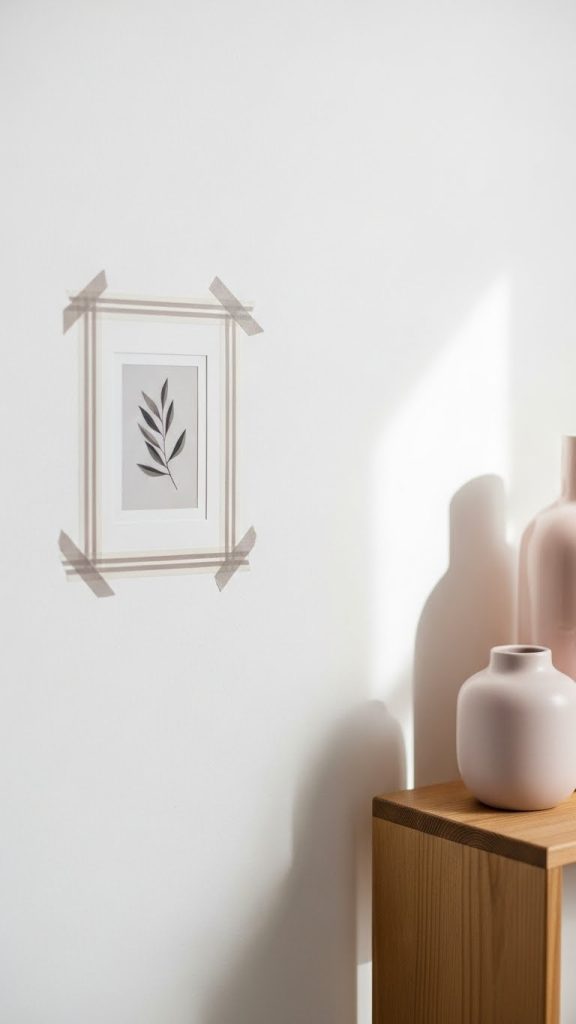
4. Washi Tape Frame
Washi tape is a fun, budget-friendly way to create temporary art frames. It works well for renters or anyone who likes to switch their décor frequently.
Materials Needed:
- Neutral-toned washi tape
- Artwork or prints
- Ruler (optional)
Instructions:
- Measure the size of your artwork and cut washi tape to match the edges.
- Carefully apply the tape around the perimeter of your artwork to form a frame.
- Smooth down any edges to ensure the tape adheres well.
- Display the framed piece on a wall, shelf, or bulletin board.
This method is incredibly versatile. You can use a single color or layer different neutral shades to create subtle patterns or textures.
5. Fabric-Wrapped Frame
Fabric-wrapped frames offer a soft, textural element to neutral décor. They are perfect for adding warmth and sophistication without relying on bold colors.
Materials Needed:
- Wooden frame
- Neutral fabric (linen, burlap, or cotton)
- Scissors
- Glue or staple gun
- Artwork
Instructions:
- Cut the fabric slightly larger than the frame dimensions.
- Wrap the fabric around the frame edges and secure it with glue or staples.
- Ensure the fabric is smooth and taut for a polished finish.
- Insert your artwork and hang the frame.
Fabric frames can be matched to other textiles in your room, such as cushions or curtains, to create a harmonious and cohesive look.
6. Minimalist Metal Frame
Metal frames offer a sleek and modern aesthetic. Using neutral colors like black, white, or brushed gold can create a sophisticated look that complements minimalistic interiors.
Materials Needed:
- Thin metal frame
- Neutral spray paint (optional)
- Artwork
Instructions:
- If desired, spray paint the frame in a neutral shade to match your décor.
- Allow the frame to dry completely.
- Insert your artwork and display on the wall.
Minimalist metal frames work especially well for black and white photographs, abstract art, or simple typography prints. They add a modern touch while keeping your home calm and airy.
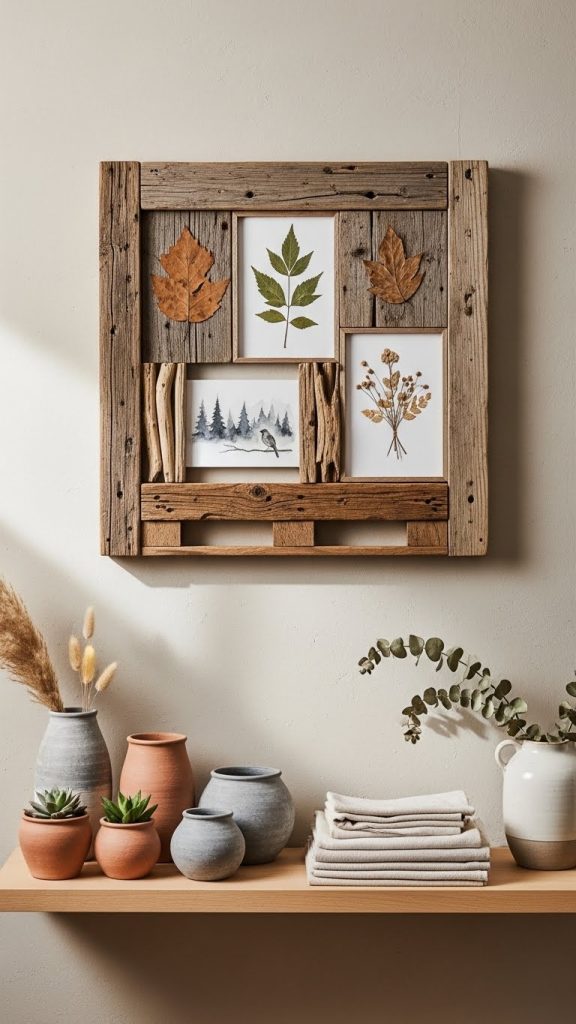
7. Reclaimed Wood Collage Frame
A reclaimed wood collage frame adds character and texture to a neutral space. By combining different wood tones, you can create a visually interesting frame without relying on bright colors.
Materials Needed:
- Various pieces of reclaimed wood
- Backing board
- Glue or nails
- Artwork
Instructions:
- Arrange the wood pieces in a collage pattern around the backing board.
- Secure the pieces with glue or nails.
- Place your artwork in the center and hang the frame on your wall.
The charm of reclaimed wood frames is their uniqueness. Each frame tells a story through the texture and history of the wood, giving your neutral space an organic touch.
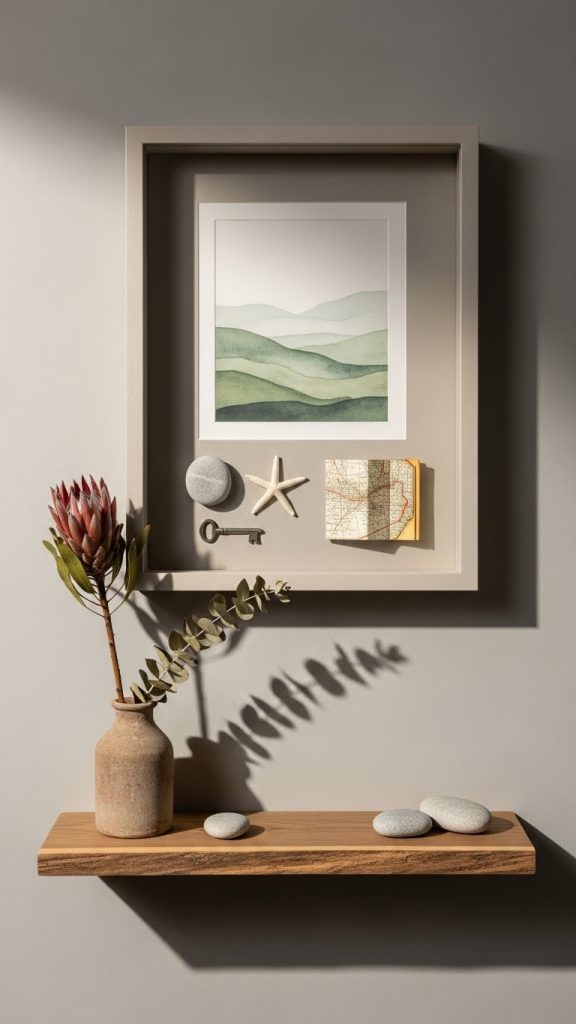
8. Shadow Box Frame
Shadow box frames are perfect for creating depth and dimension. They work well for displaying three-dimensional objects, small keepsakes, or layered artwork.
Materials Needed:
- Shadow box frame
- Neutral paint or stain
- Artwork or objects
- Mounting materials
Instructions:
- Paint or stain the shadow box frame in a neutral tone.
- Arrange your artwork or objects inside the frame.
- Secure them using mounting materials such as pins or adhesive.
- Hang the shadow box on your wall.
Shadow boxes allow you to showcase multiple elements in a single frame while maintaining a cohesive neutral aesthetic. They are ideal for family heirlooms, postcards, or small decorative items.
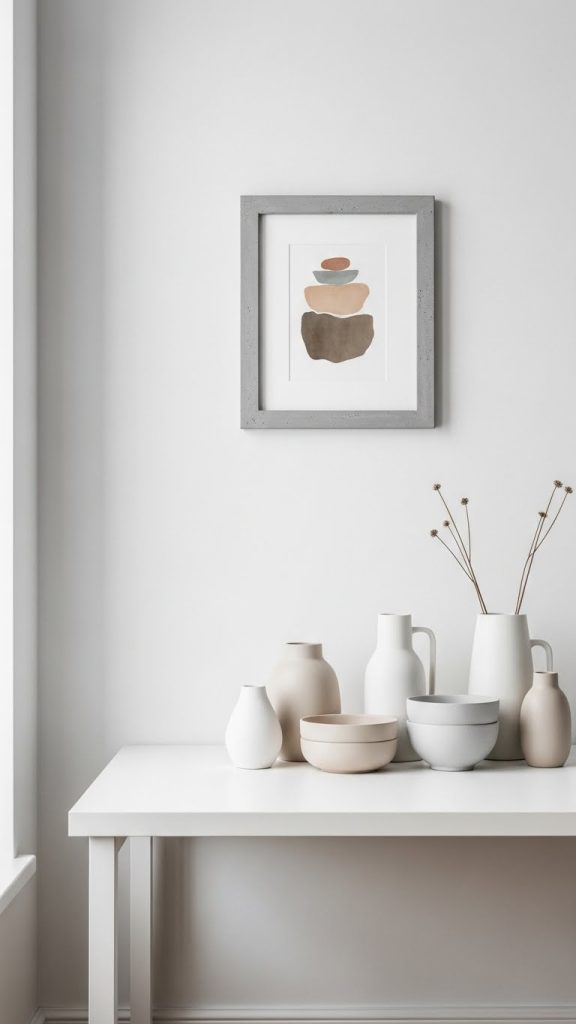
9. Concrete Frame
Concrete frames are unconventional but highly stylish. They create a minimalist, industrial vibe that works well in modern neutral interiors.
Materials Needed:
- Quick-drying concrete
- Frame mold
- Sandpaper
- Artwork
Instructions:
- Mix the concrete according to instructions and pour it into a mold of your desired frame shape.
- Let the concrete cure completely.
- Sand any rough edges for a smooth finish.
- Insert your artwork and display on the wall.
Concrete frames pair beautifully with neutral color palettes, offering texture and contrast without overpowering the space. They are perfect for industrial, modern, or minimalist interiors.
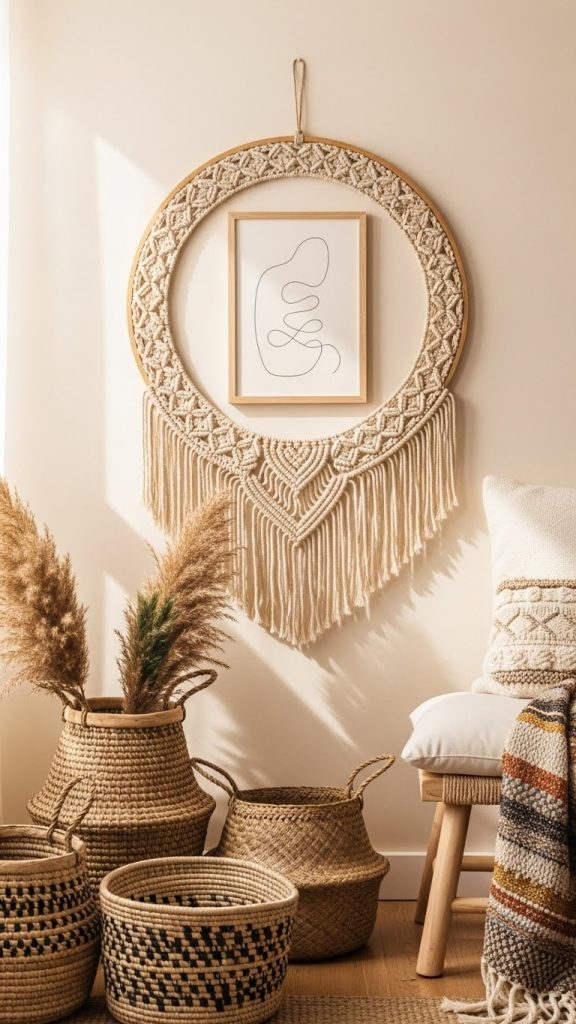
10. Rope or Macrame Frame
Rope and macrame frames add a soft, bohemian touch to neutral interiors. They bring a handmade, cozy feel to your walls.
Materials Needed:
- Wooden frame or hoop
- Neutral rope or macrame cord
- Glue or knots
- Artwork
Instructions:
- Wrap the rope or macrame cord around the frame edges, securing it with glue or knots.
- Make sure the wrapping is even and smooth.
- Place your artwork inside the frame and hang it.
Macrame frames are perfect for adding texture and interest to a wall without using bright or bold colors. They complement neutral walls, wooden furniture, and soft textiles.
Tips for Styling Neutral Art Frames
- Layering: Combine frames of different sizes, textures, and depths to create an engaging gallery wall.
- Mix Materials: Don’t be afraid to mix wood, metal, glass, and fabric frames to add subtle contrast.
- Neutral Artwork: Use black and white photography, muted prints, or sketches to maintain a calm and cohesive look.
- Spacing: Leave enough space between frames to avoid clutter and ensure each piece stands out.
- Complementary Décor: Pair your frames with neutral cushions, rugs, and furniture for a balanced and harmonious interior.
Conclusion
Neutral art frames are more than just decorative accessories. They can elevate the look of your home, provide a sophisticated backdrop for your artwork, and create a sense of calm and balance. By creating your own DIY frames, you not only save money but also add a personal touch to your home décor. From rustic driftwood to sleek metal frames, there are countless ways to bring art to life in a neutral setting.
With these ten DIY art frame ideas, you can explore different materials, textures, and styles to match your personal taste. Whether you prefer a modern, minimalist look or a cozy, bohemian vibe, these neutral frames will enhance your walls and reflect your unique style. Start small with one frame project or create an entire gallery wall to transform your living space into a serene and artful haven.