
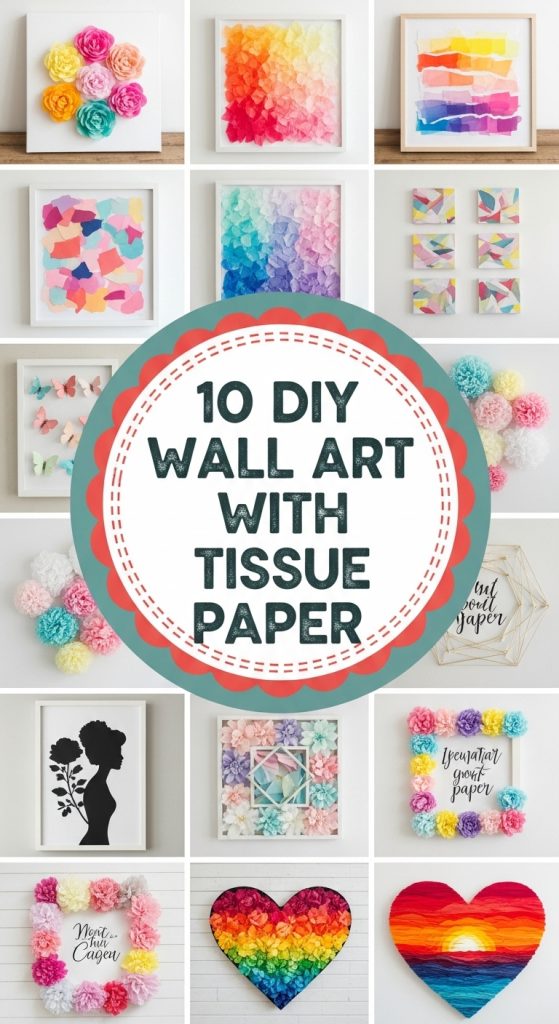
Tissue paper is one of the most affordable and versatile craft materials you can use for home décor. It is lightweight, colorful, easy to cut, fold, layer, and glue. Whether you want to decorate your bedroom, living room, hallway, or even a workspace, tissue paper wall art can instantly add charm and personality to your space without spending much money.
In this article, you will discover 10 creative DIY wall art ideas using tissue paper. These projects are beginner-friendly, budget-friendly, and perfect for anyone who loves handmade décor
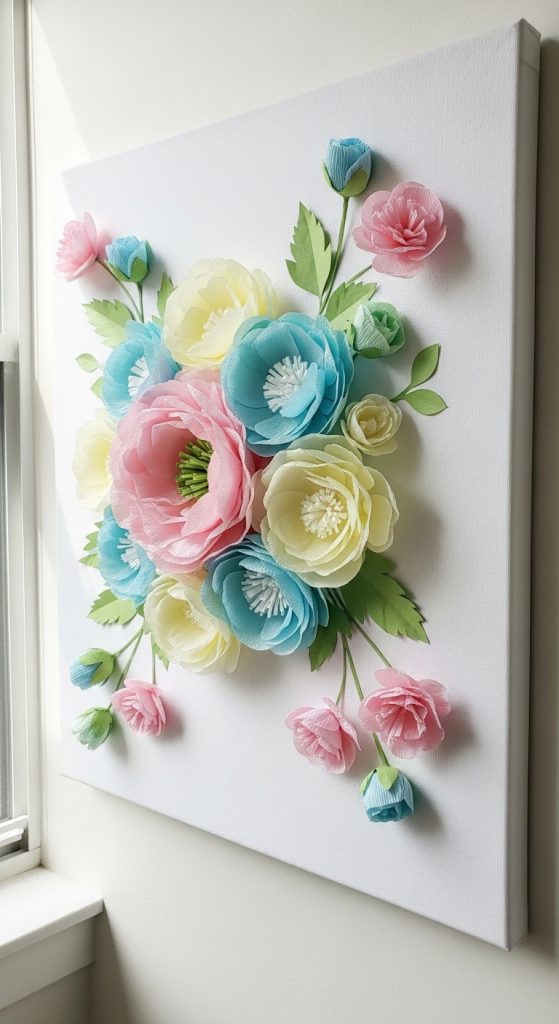
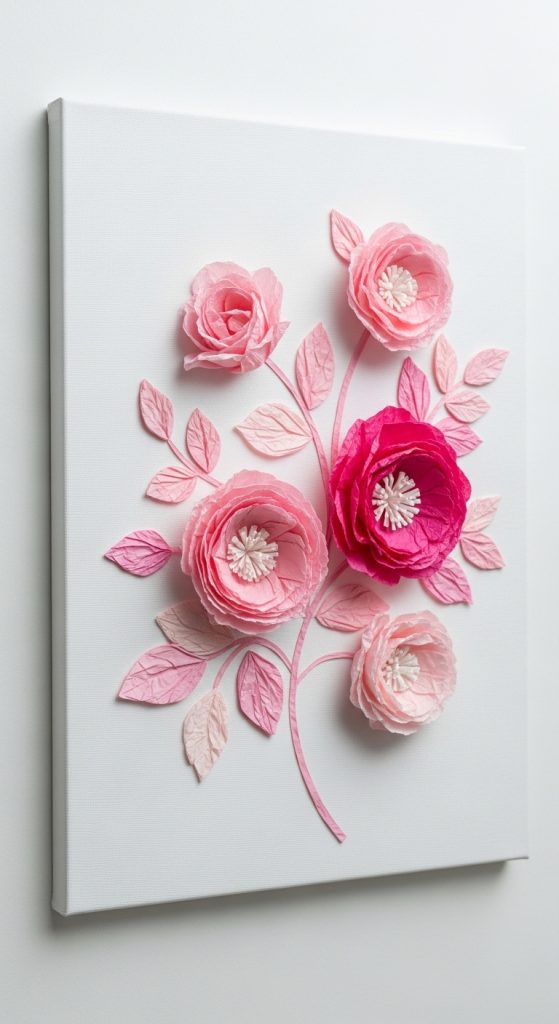
1. Tissue Paper Flower Wall Canvas
One of the most popular ways to use tissue paper is by creating layered flowers. You can cut multiple petals from different colored tissue papers, stack them, and gently fluff them to create 3D flowers. Glue these flowers onto a blank canvas or thick cardstock.
You can arrange them in a heart shape, circle, or random cluster for a soft and romantic wall piece. This idea works beautifully in bedrooms and nurseries.
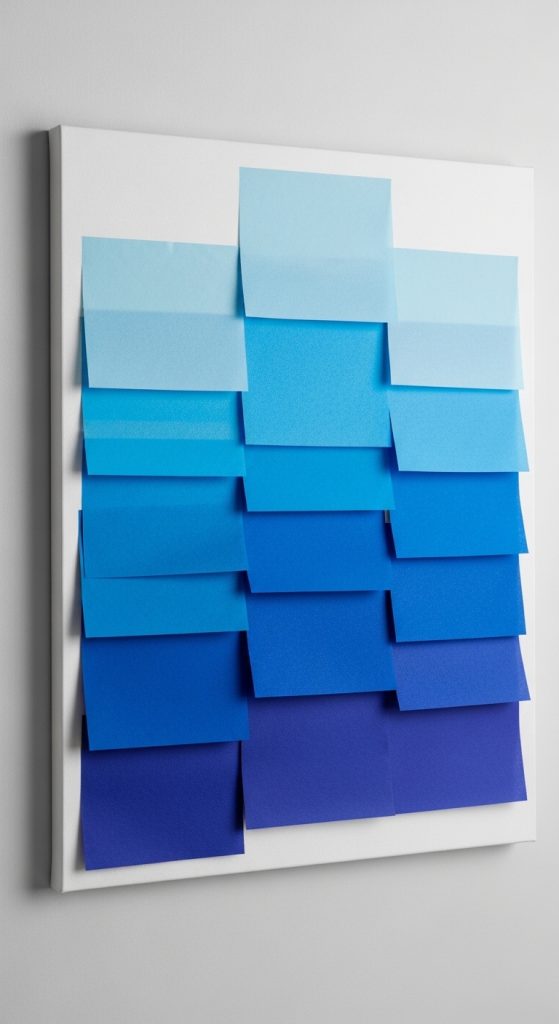
2. Ombre Tissue Paper Art
Ombre designs look modern and elegant. Choose tissue papers in different shades of one color, such as light pink to dark pink or light blue to navy. Cut them into small squares and glue them row by row on a canvas, blending the colors gradually.
This simple technique creates a professional-looking gradient wall art that fits perfectly in minimalist or contemporary rooms.
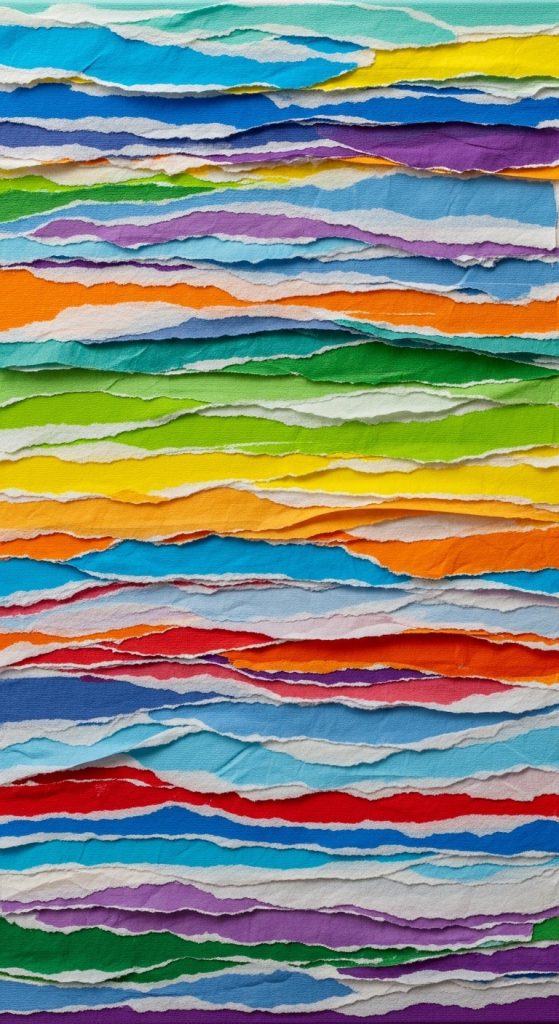
3. Tissue Paper Collage Abstract Art
Abstract art is all about creativity and expression. Tear tissue paper into random shapes and layer them on a canvas using glue. Mix different colors, patterns, and textures.
You can create a sunset theme, ocean-inspired art, or simply a colorful abstract design. The torn edges give a soft and artistic effect that makes the artwork unique.
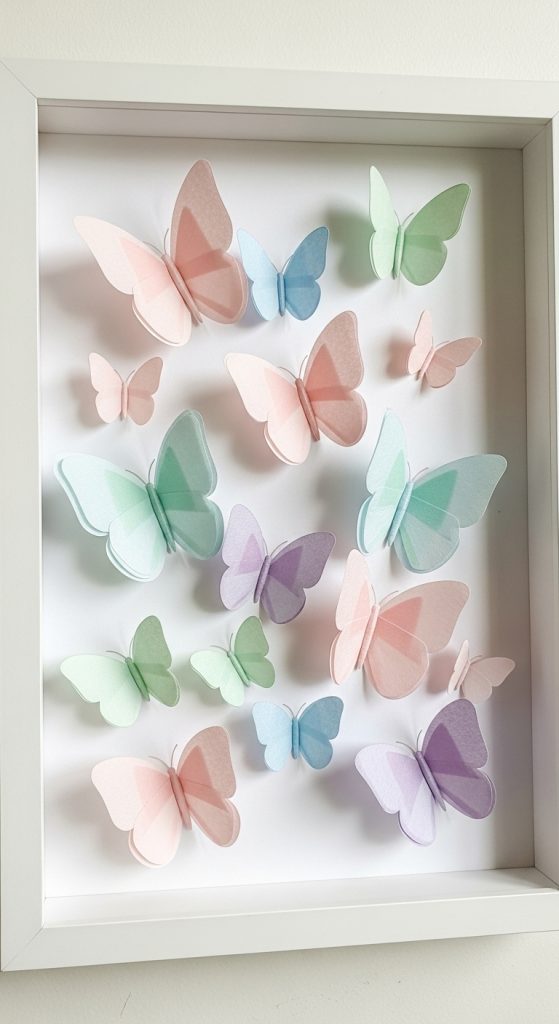
4. Tissue Paper Butterfly Wall Frame
Cut butterfly shapes from bright tissue paper and fold the wings slightly to create a 3D effect. Attach them to a white background inside a photo frame.
You can arrange butterflies as if they are flying in one direction. This delicate wall art is perfect for kids’ rooms or reading corners.
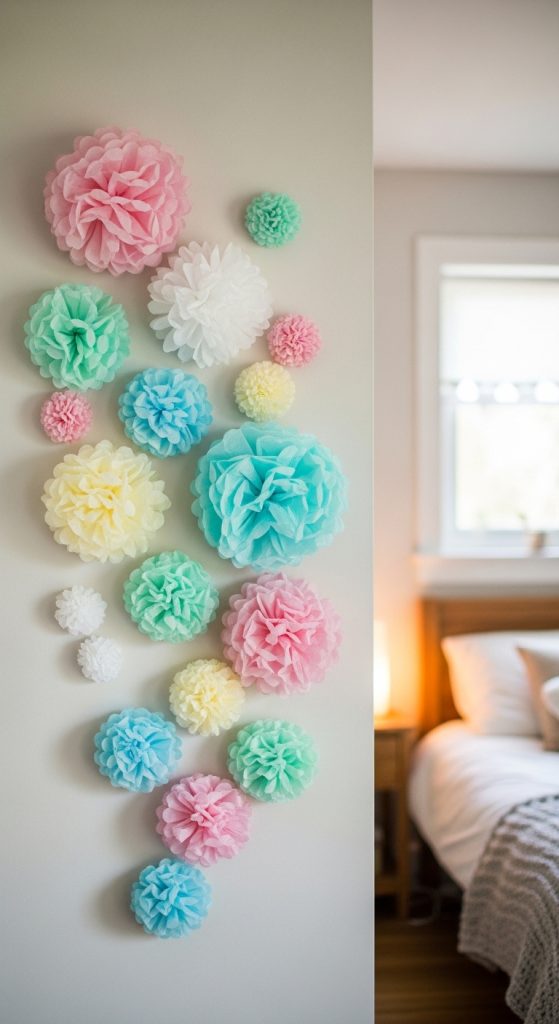
5. Tissue Paper Pom-Pom Wall Display
Make fluffy pom-poms by folding and tying tissue paper in the center. Once fluffed, attach them to the wall in clusters or hang them from a string.
You can create a festive backdrop for birthdays or keep it as a permanent decorative feature in your room. Mixing pastel or vibrant colors adds a lively touch.
6. Floral Silhouette Art with Tissue Paper
Draw or print a simple silhouette of a tree branch, vase, or woman profile on canvas. Then use small crumpled pieces of tissue paper to fill the floral areas.
This technique adds texture and depth to the artwork. It combines drawing and craft in a beautiful way, making it look like professional wall décor.
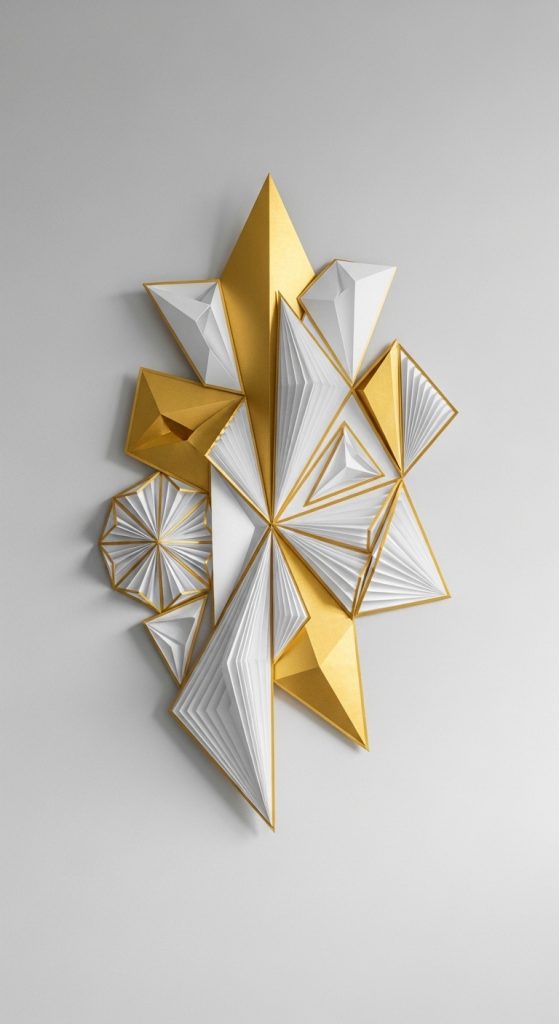
7. Geometric Tissue Paper Wall Art
Cut tissue paper into triangles, hexagons, or rectangles and arrange them in geometric patterns. Stick them carefully onto a canvas or board.
You can choose contrasting colors like black and gold, white and blue, or pastel combinations. This style works very well in modern and Scandinavian-themed interiors.
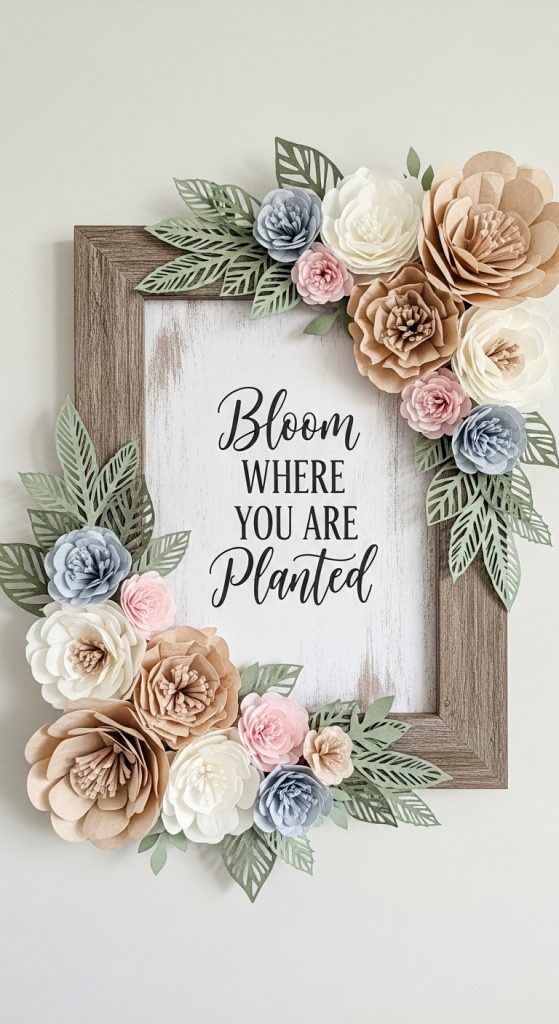
8. Tissue Paper Quote Frame
Print or handwrite an inspirational quote on paper. Decorate the border using tissue paper flowers, leaves, or layered shapes.
This DIY project is meaningful and decorative at the same time. You can personalize it with your favorite quote and match the colors with your room décor.
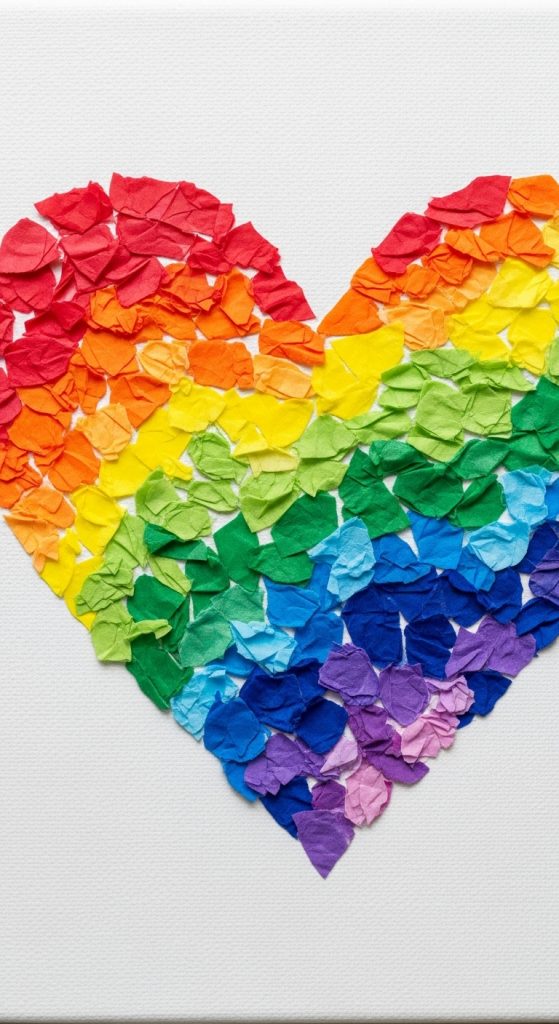
9. Tissue Paper Mosaic Art
Cut tissue paper into tiny square pieces and stick them closely together to form a picture like a heart, star, moon, or flower. The overlapping pieces create a mosaic effect.
This idea looks detailed and artistic. It is perfect for those who enjoy careful crafting and patience.
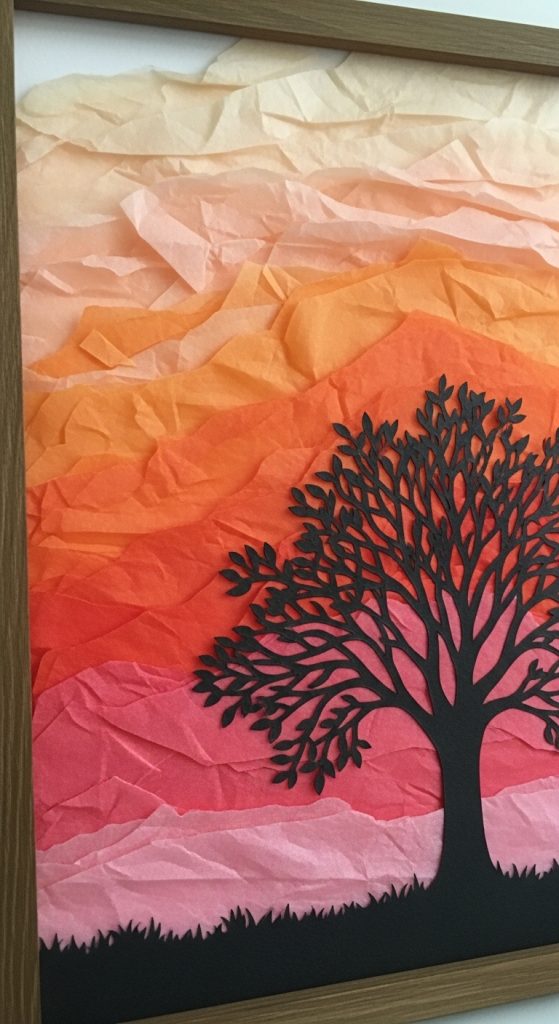
10. Tissue Paper Nature-Inspired Wall Art
Create nature-themed artwork like trees, mountains, clouds, or sunsets using layered tissue paper. For example, use brown tissue paper for tree trunks and green crumpled pieces for leaves.
You can also create a colorful sunset by layering orange, yellow, and pink tissue papers. This kind of art brings warmth and positivity into your room.
Tips for Best Results
- Use a soft brush to apply glue smoothly.
- Do not use too much glue, as tissue paper is delicate.
- Let each layer dry before adding another.
- Use a protective sheet under your canvas while working.
- Frame your artwork for a more finished look.
Final Thoughts
DIY wall art with tissue paper is a creative and budget-friendly way to transform your space. These projects are easy, customizable, and suitable for all ages. You do not need expensive materials—just tissue paper, glue, scissors, and imagination.
Whether you prefer floral, abstract, modern, or nature-inspired designs, tissue paper allows endless possibilities. Try these 10 ideas and turn your blank walls into beautiful, handmade masterpieces


Leave a Reply